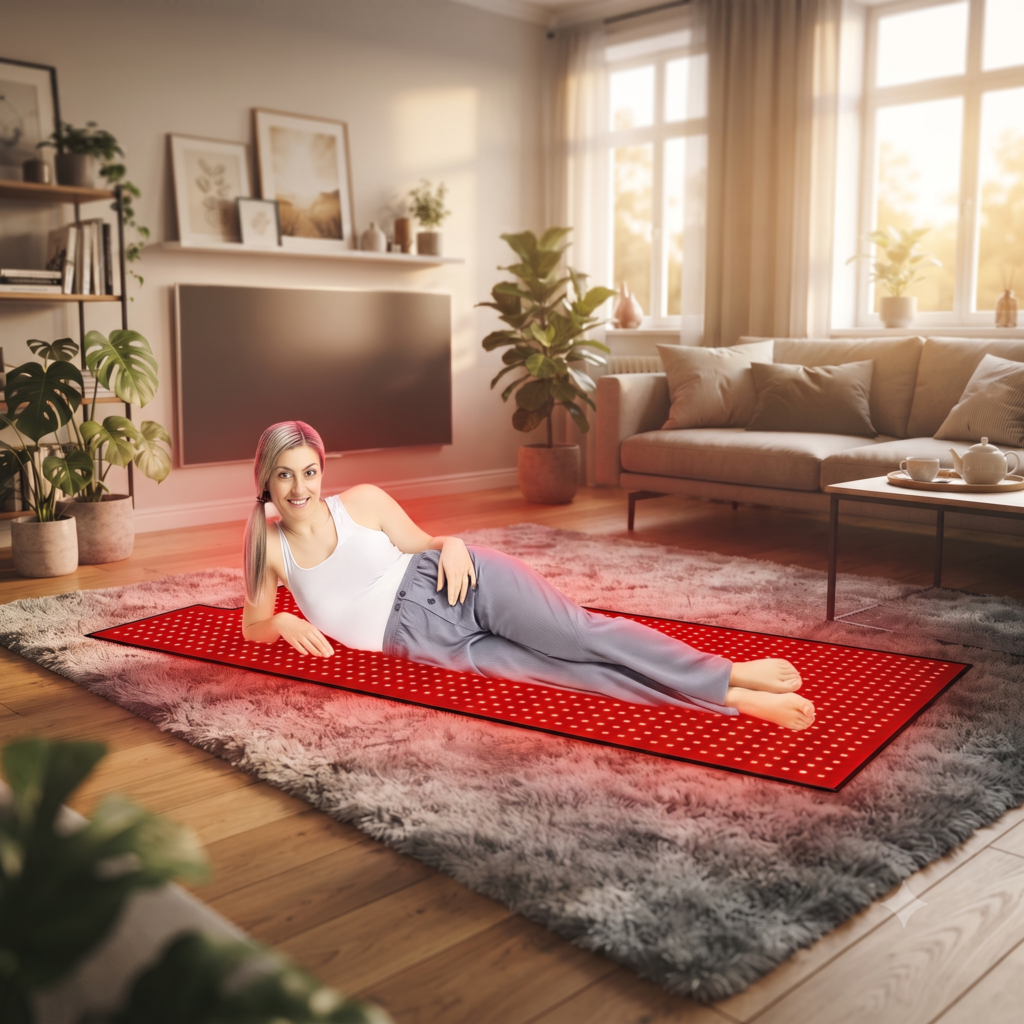

How to use red light therapy at home correctly – a daily guide
Red light therapy at home (also known as photobiomodulation) should be applied based on clear, proven recommendations from specialists and clinical sources. It is not just “sitting under a lamp” – real results and safe use are determined by specific parameters: wavelengths, distance to the device, session duration and frequency. Only by consistently following these principles can one expect tangible benefits (for skin condition, recovery, and discomfort reduction) and at the same time avoid the most common mistakes that reduce effectiveness.
Dermatologists emphasize that home LED or panel solutions can be beneficial, but the most important thing is the quality of the device, photobiological safety, and a consistent protocol, especially in the first 6-12 weeks of use, when a routine is formed and it is easiest to "overdo it."
To make red light therapy a daily habit rather than a guesswork, we present a practical daily guide in this article. It will help you easily organize your morning-afternoon-evening routine, choose the right session duration and distance, and use the device effectively according to your goals – skin, recovery, or relaxation.
Is red light therapy at home the same as a "heat lamp"?
No, red and near-infrared light therapy works through the absorption of light energy in tissues (photobiomodulation), not through heating.
- The most commonly used wavelengths are: red ~630–670 nm and NIR ~810–850 nm;
- The goal is a biological response (cell signals, inflammation modulation), not “sweat”;
- Too high a dose may reduce the effect (typical biphasic dose – “too much” ≠ “better”).
In the scientific literature, photobiomodulation is associated with mitochondrial processes and cellular responses, but the strength of the results depends on the parameters (wavelength, power density, dose, frequency). A biphasic dose response has been described in the works of Hamblin et al. (e.g., PubMed review of biphasic dose response; also updated review).
Does scientific research support the real benefits of light therapy?
The strongest scientific evidence has been collected to confirm the benefits of light therapy for skin condition (photorejuvenation direction), reducing inflammation processes. The results of scientific studies show:
- Skin (texture, fine lines): clinical studies show improvements, but it takes weeks;
- Acne: There are studies and meta-analyses of home-use LED devices;
- Safety: Usually good if rules are followed and "too long/too close" is not used.
For example, photobiomodulation for the skin is reviewed in more recent dermatological articles and reviews (e.g., MDPI Review of PBM in Dermatology, 2024; PMC article on signs of skin aging, 2023). Dermatological sources are also worth considering on the topic of home appliance acne (e.g. AAD recommendations for home appliances; Summary of JAAD publication on at-home light therapy for acne). More widely, popularly, but cautiously – clinical sources also write about the benefits and limits (e.g., Harvard Health, 2025-10-21; UCLA Health, 2025-04-30).
Read more about the scientific justification for the benefits of light therapy devices on stokas.lt. scientific basis.
How to choose the right light therapy device for your home?
Choose by target (skin vs. deeper tissues), by wavelength (red and/or NIR), and by clearly presented parameters (irradiance, recommended distance, session time), for example:
- Skin/face: 630–670 nm is often sufficient;
- Muscles/joints: NIR 810–850 nm is often added;
- Look for clear instructions: at what distance the intensity is measured (mW/cm²), what is the recommended session duration.
Practical advice: when choosing in online stores, give priority to those that specify parameters and have clear instructions. stokas.lt convenient to start with red light therapy device categories and related explanations (e.g., Is the therapy safe?).
How to understand the dose and calculate the session duration (J/cm²)?
The dose (energy density) of light therapy depends on the intensity (irradiance) and time. If you do not know the intensity at the distance you are using, follow the manufacturer's protocol:
- Dose (J/cm²) = irradiance (W/cm²) × time (s);
- 100 mW/cm² = 0,1 W/cm²;
- 0,05 W/cm² × 200 s ≈ 10 J/cm².
Why is this important? Photobiomodulation is characterized by biphasic response: too low a dose may not "catch" the effect, too high - reduce the benefits or increase irritation (see Hamblin/biphasic dose response overview). Reviews of different studies emphasize that the diversity of parameters is one of the reasons why the results differ (e.g. Overview of PBM parameters, PMC).
Practical dosage example:
Unless the manufacturer specifies otherwise, start conservatively and increase only if you tolerate it well:
- Choose a destination (oda / raumenys / sąnariai);
- Start with a shorter time (e.g. 5–8 min per zone);
- Observe the reaction for 48 hours. (redness, sensitivity, sleep);
- Increase gradually (e.g. +1–2 min every 3–4 sessions) if all goes well.
What is the best guide to a day of red light therapy at home?
Plan according to your goal: morning or day is usually best for skin, and after a workout is best for sports recovery; choose a shorter, calmer regimen in the evening:
- Morning: energy + routine (shorter, consistent);
- After sports: locally to muscles/joints;
- Evening: shorter, without "overheating" and with eye safety.
Sample daily plan (adapt to your regimen)
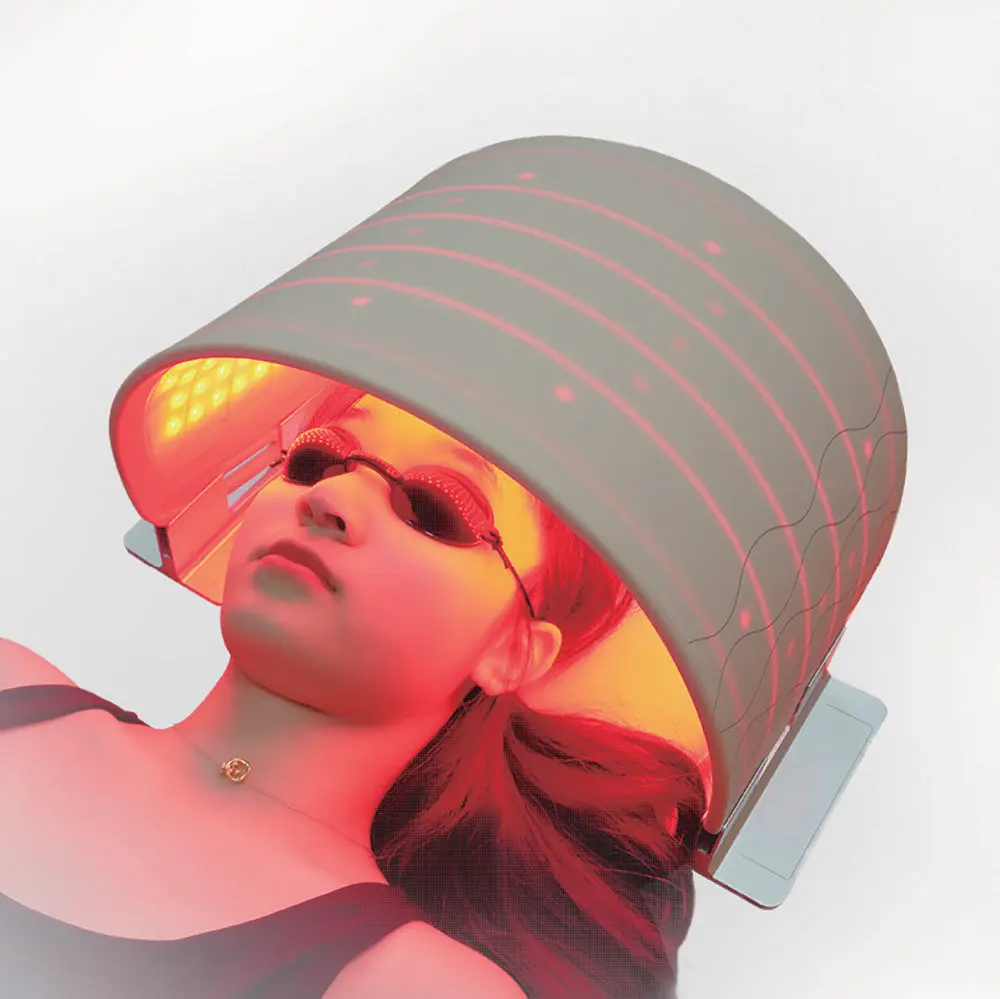
Morning (7:00–10:00) – skin / face / neck (if the goal is aesthetic)
- Cleanse your skin (no SPF, no thick creams before the session);
- Select the distance according to the instructions;
- Do this for 5–10 minutes. or according to the manufacturer's protocol);
- Apply moisturizer after your session., SPF – later, before going outside.
Day (12:00–16:00) – break / local area (if pain, tension)
- Identify zones 1-2 (e.g. neck, waist, knee);
- Short session 5-12 min for one zone;
- Don't overload your entire bodyif you're just starting out.
Post-sports (within 0-2 hours after training) – recovery
- Choose a larger area (thighs, back, shoulders);
- 10–15 min for one area, according to tolerance;
- Stay hydrated. and avoid "marathons" with multiple devices on the same day.
Evening (19:00–22:00) – sleep-friendly mode (if you want to relax)
- Choose a shorter time (e.g. 5–8 min);
- Avoid overexposure to the faceif you feel it is activating;
- Eyes – safe (closed or protected, depending on the device).
If you want to understand the biological mechanism even more clearly, stokas.lt has a separate article on mitochondria and ATP: How red light therapy increases mitochondrial energy.
Light therapy usage chart
| Goal | Spectrum | Typical start | Frequency | Note |
|---|---|---|---|---|
| Leather (texture, fine wrinkles) | Red ~630–670 nm | 5–10 minutes | 3–5 times/week | Results often take 6-12 weeks. |
| Acne (according to protocols) | Often combined with other wavelengths | By manufacturer | 3–5 times/week | Consult a dermatologist (AAD recommends a consultation) |
| Muscle recovery | Red + NIR | 10–15 min per zone | 3–6 times/week | It is often most comfortable after a workout. |
| Joint discomfort | NIR + red | 8–15 min per zone | 3–6 times/week | Monitor for increased sensitivity |
| General well-being | Mixed | 5–10 minutes | 3–5 times/week | Less often is better than "30 minutes every day" |
Note: The exact dose depends on the intensity and distance of your device, so it is safest to follow the manufacturer's protocol and adjust carefully (various parameters are discussed in reviews, e.g. PMC overview of parameters).

How to prepare your skin and body before a red light therapy session?
The main rule is that light must reach the skin, so thick layers, fabrics, and the wrong angle reduce effectiveness.
- Skin – clean, dry, without thick layers;
- Zone – open (without clothes) or with minimal obstruction;
- Constant distance and angle throughout the session.
In practice, this means: first you cleanse (especially your face), then you do a session, and only then do you apply active serums or SPF. If you use acids/retinoids and have sensitive skin, discuss the combination with a specialist - the AAD emphasizes individuality and recommends consulting before using at home (AAD guidelines).
What are the most important safety rules when using red light therapy at home?
The most important thing is to observe eye safety, not to increase the dose and to use the devices only at the distance specified in the device instructions:
- Eye protection: especially if you shine light into your face (clinical sources remind you of the risks and the need for protection);
- No "overheating": if you feel burning or discomfort, stop;
- Follow the manufacturer's recommendations and mark your sessions.
Note: Even though red/NIR is not UV, bright LED panels close to the face can be irritating, so it is worth using protection according to the instructions (e.g. Brown Health on safetyIt is also worth understanding that the safety of devices is assessed according to photobiological standards (e.g., IEC 62471 description; additionally regarding the application to medical devices – Intertek explanation).
When is it better to avoid red light therapy or consult a doctor?
If you have photosensitive conditions, are taking photosensitizing medications, have a history of eye/skin oncology, or active skin lesions – consult your doctor first.
- Photosensitizing drugs or conditions;
- Previous skin or eye tumors;
- Unclear rashes, severe inflammation or infection;
- In case of pregnancy – caution and doctor's opinion (especially regarding whole body protocols).
Clinical sources emphasize that home use should be responsible and individualized (e.g., UCLA Health tips; Brown Health on risks).
Kokios dažniausios klaidos?
The most common mistakes when using red light therapy are not the choice of the device, but the dosage and regimen. The following are the most common mistakes when using red light therapy:
- Too long sessions from the first week (“overtraining”);
- The distance changes every minute and the dose logic disappears;
- Inconsistency (2 times, then a 2-week break);
- An "instant" effect is expected within 3 days;
- Unprotected eyes, especially with powerful panels.
FAQ
Conclusions
The correct use of red light therapy at home starts with clear goal (skin, recovery or discomfort reduction) and the choice of distance, session duration and frequency. In practice, the most important follow the manufacturer's protocol and remember that “more” does not always mean “better.” The safety of a light therapy session is ensured by simple rules: Protect your eyes according to the device instructions, and plan your sessions consistently according to the morning-day-evening schedule.To make the results measurable, it is worth recording your progress (photos every 2 weeks + a short journal) - this way you will clearly see what works for you in 6-12 weeks.
When choosing light therapy equipment, it is recommended to focus on verified, certified and transparent manufacturers – this ensures safety and real results.
Sources
- American Academy of Dermatology: Red light therapy (at-home safety);
- Harvard Health (2025): Red light therapy for skin care;
- UCLA Health (2025): 5 health benefits of red light therapy;
- PubMed: Biphasic dose response in low level light therapy;
- PubMed: Biphasic dose-response update;
- PMC (review): PBM parameters and efficacy;
- PMC (trial/rejuvenation): Controlled trial red/NIR for skin;
- MDPI (2024): PBM in dermatology review;
- IEC: IEC 62471 photobiological safety standard;
- FDA guidance: PBM devices 510(k) submissions.
RECOMMENDEDME
TOP trademark in Europe MITO LIGHT®
MITO LIGHT – this Czech Innovation Center, whose products used by professionals in spas and clinics across Europe. 30-day money back guarantee and 3 year warranty. . Free shipping all over the world. Trustpilot rating 5/5 (339 reviews). Read more about MITOLIGHT here.


DERMFIX®– 20+ years of phototherapy and medical device manufacturing experience
Dermfix rEuropean phototherapy manufacturer with a team of over 20 years of experience in light therapy and medical devices. This experience is applied in RLF red light panels, which stand out with transparent spectrometer measurements, advanced control, documented safety compliance and European service. Read more about Dermfix here.